 Skip to content

The smell of freshly baked bread. Is there much better? With this super simple bread recipe, you are only a couple of hours away from that simple pleasure. Simple and quick, this everyday bread works beautifully for toast, sandwiches and puddings. Give it a try, and I’m sure you’ll love it! Click here for the full Simple Swaps Series.
Please note that this page contains affiliate links. While we only recommend products that we believe in, we may benefit financially from any purchases you make.
Simple Swaps – Make it, don’t buy it
The third entry into our Simple Swaps series, today we are focusing on a great everyday staple, the humble loaf of bread. Many people think that making bread is too difficult and time consuming, but this isn’t always the case. Lets see how we can make it, not buy it.
Simple, not Sourdough
You all know by now that I love me some sourdough. I have recipes galore on how to use it, as well as the discard – (see my post on what it is and what to do with it here.)
However….
What if you need bread quickly and don’t have time to wait for it to ferment? Or what if you just don’t want to maintain a sourdough starter at the moment? Or what if you like it but your kids hate it?
Here is where a normal everyday yeasted bread can be invaluable.
Why make it, when it’s so cheap to buy?
I used to ask this question as a young mama, before I started on my cooking from scratch journey. All that effort for something that is gone in 60 seconds, with a big family like mine. But when I started to slow down and look properly at the ingredients in my family’s food, I was shocked at the additives and preservatives needed to keep the store bought bread fresh for as long as it does.
- Emulsifiers: E481, E472e – An oil based ingredient added to make a chewy springy texture. (noted by the European Food Safety Authority (EFSA) to cause skin and eye irritation and that large parts of the population are at risk of over exposure)
- Sunflower and rapeseed oils – Both are known to be toxic at high temperatures and rapeseed oil especially can have adverse effects on the heart tissue, meaning it affects the heart’s ability to contract. (source – UK Food Standards Agency)
- Calcium Propionate – a mould inhibitor which has been shown to raise insulin production and can lead to insulin resistance, the main precursor in Type 2 Diabetes. (Source – Healthline)
Those ingredients are all in a regular brand of bread available widely in the UK.
I don’t know about you, but I’d rather not put those things into my family’s body when there is an easy alternative.
So I challenged myself this year to buy no bread products, with the only exception being if I am incapacitated and cannot physically make it ( even then, I have bread dough in the freezer ready to go…)
This goes for buns, sweet bread, wraps, bagels, everything! and so far, we are in may and I’ve stuck to it!
Why you’ll love this recipe
- A quick and easy recipe, even for beginners.
- You know every ingredient that goes into it!
- If you try it and love it, you can buy flour and yeast in bulk and can save money.
- the loaf costs £1.24 to make from scratch, where in the UK right now, a branded loaf is about £1.45. (own brand bread runs a little cheaper, but then there are many more additives in the cheaper brands)
- Once you have the ingredients you can make at least 3 more loaves, or many more with the salt and oats etc
- Homemade bread products are more filling that store bought ones and so you eat less and feel fuller
- the smell of freshly baked bread that you’ve made with your own two hands to feed and nourish your family is second to none.
- Its a skill you can pass on to your kids and grandkids that is so beneficial in this fast paced world.
What You’ll Need
A stand mixer (optional, but does make it easier)
Measuring cups and spoons (I love these ones)
Loaf tin
Sharp knife or bread lame for scoring
Cooling rack
Ingredients
Warm water
Instant or dry active yeast
Honey or maple syrup (The difference is maple syrup is slightly less sweet, which we prefer, but they both work well)
Olive oil
Rolled oats
Salt
Organic strong white bread flour – (I buy bulk of this brand and store in the garage pantry so I always have it on hand)
Method
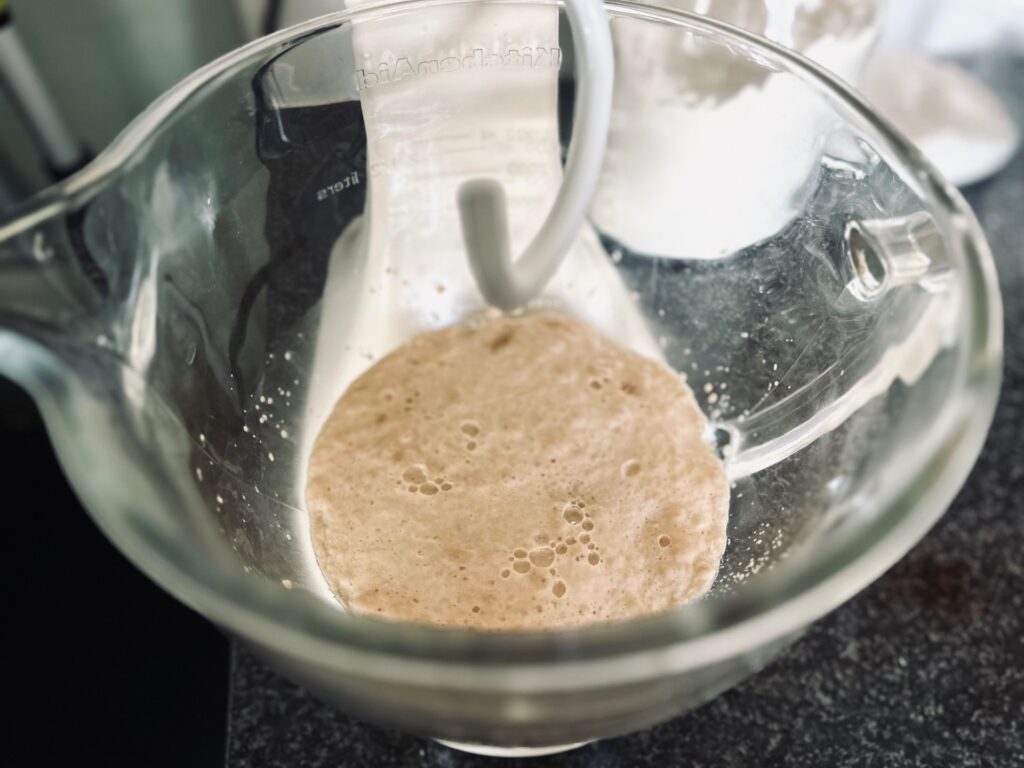
- Start by placing the warm water, yeast and maple syrup/honey into the glass bowl of your stand mixer. Allow to get bubbly, like this. (This should take about 5 mins)
- Next add the oats, salt, oil and finally the flour
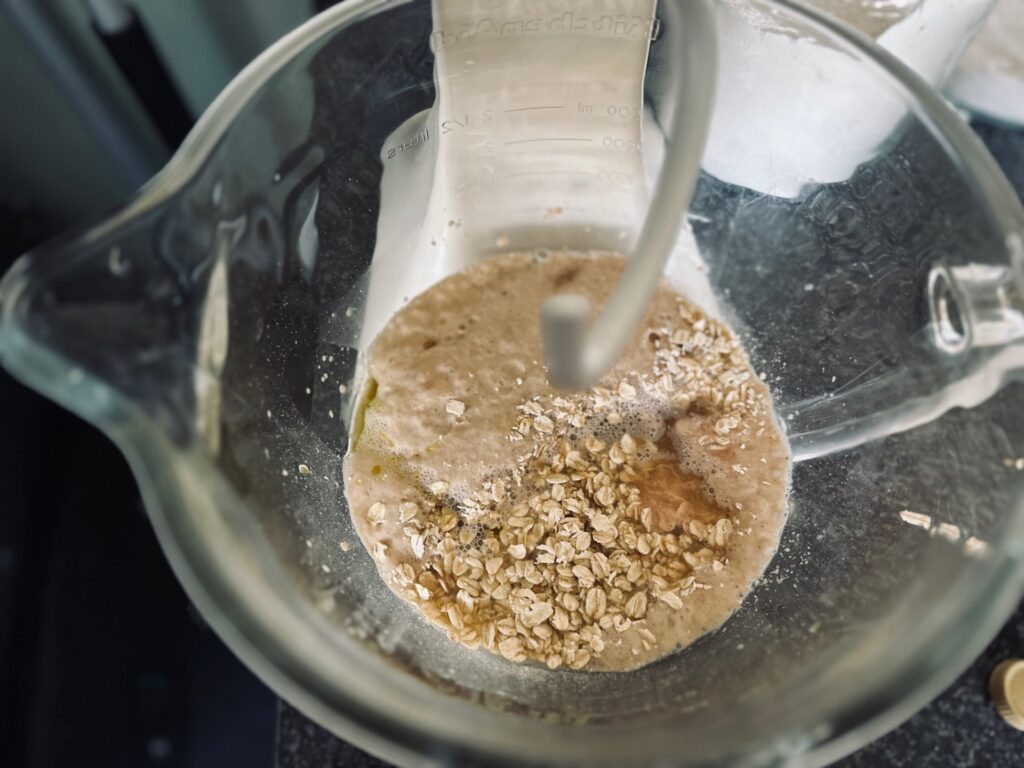
- By adding the flour last, you can judge if you need slightly more or less flour.
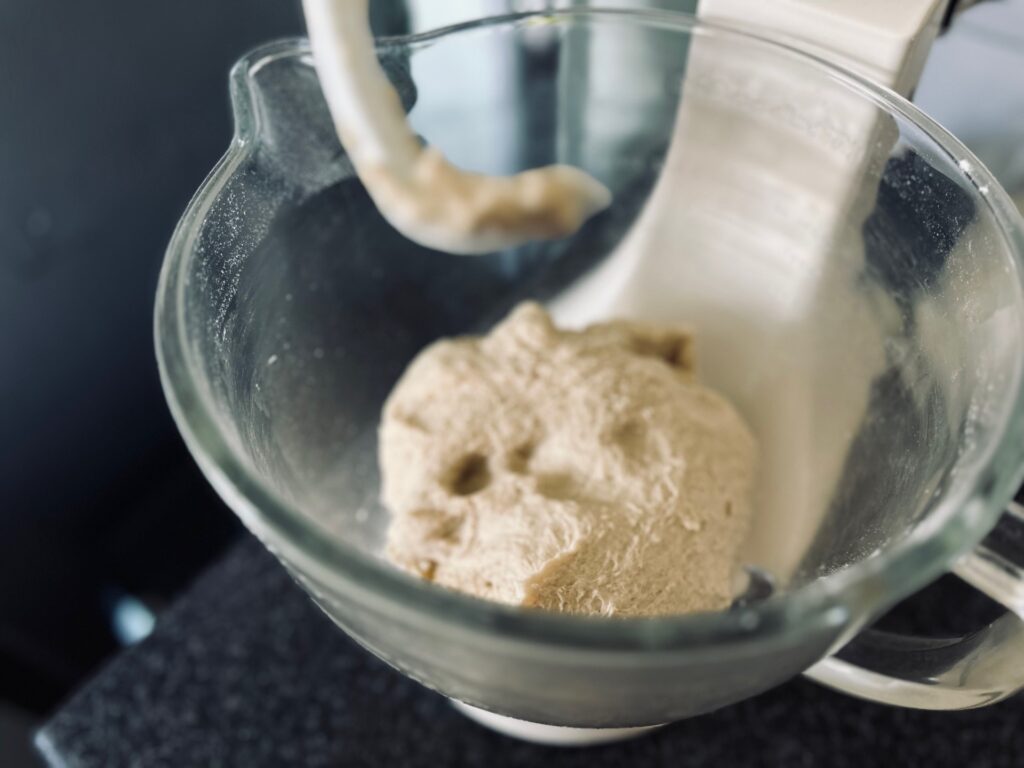
- Mix on low to medium speed until a soft dough is formed, about 5-7 mins.
- This dough wants to be slightly sticking to the bottom of the bowl while the sides look clean. If too wet, add more flour, 1 tbsp at a time.
- Cover with a damp cloth, orin my case, my stash of gifted shower caps, and leave until at least doubled in size.
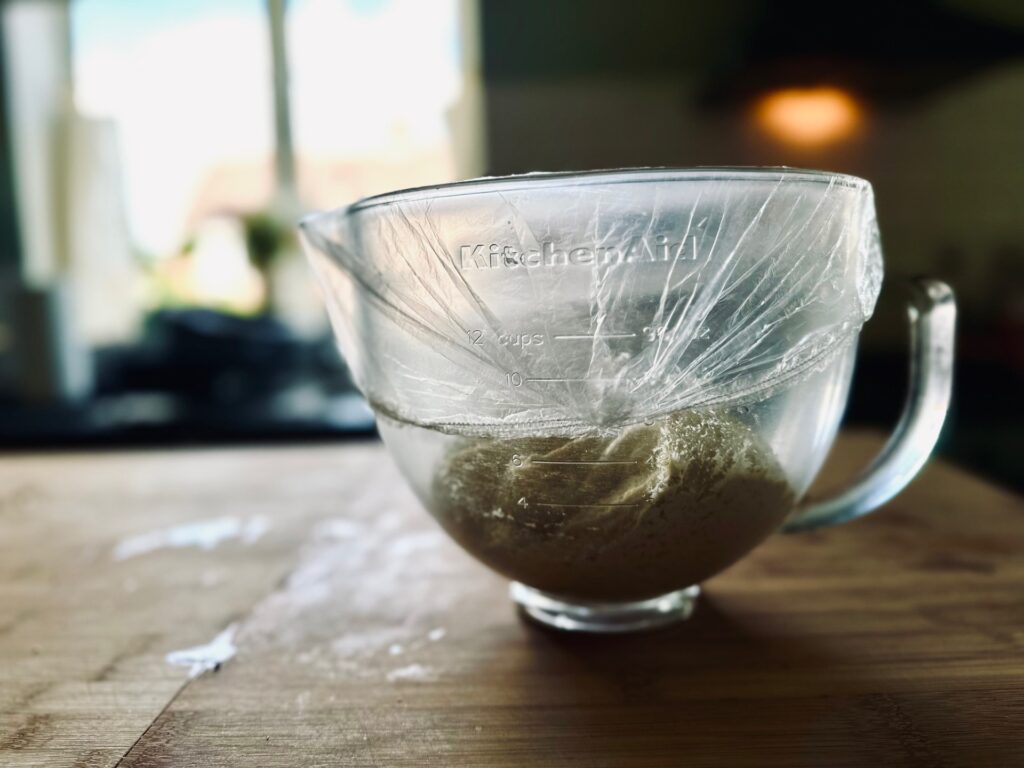
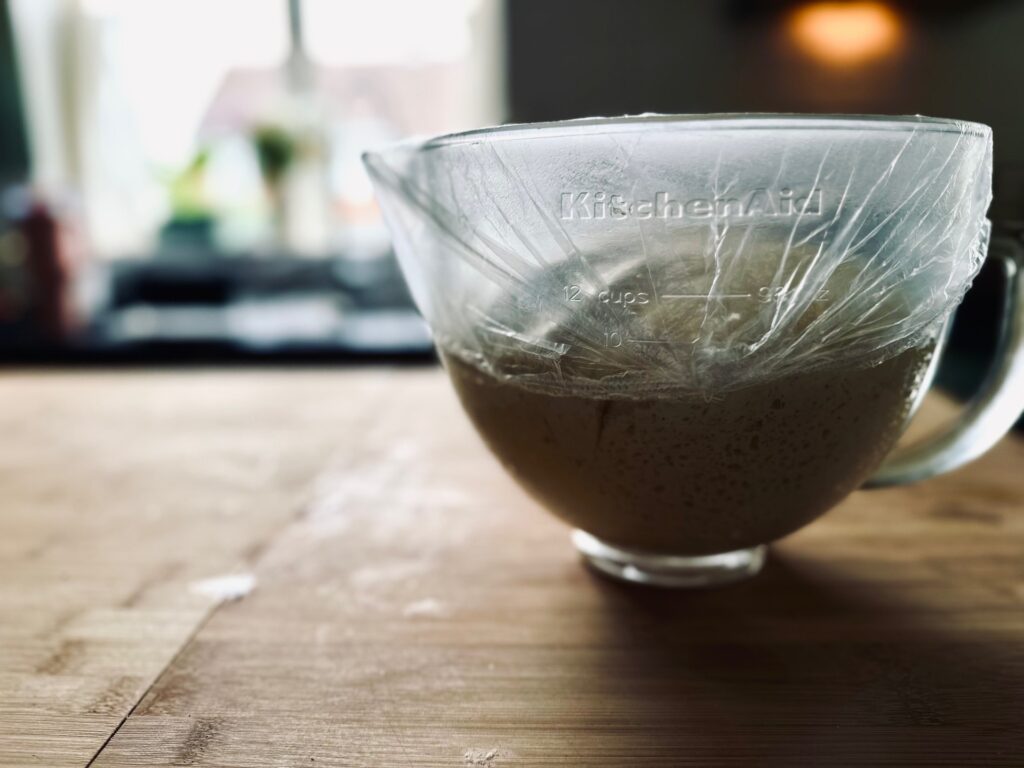
- This will depend on the temperature of your house. a warm kitchen in summer will be about 30-45 mins to rise, a cool room in winter will probably be more like an hour to 90 mins.
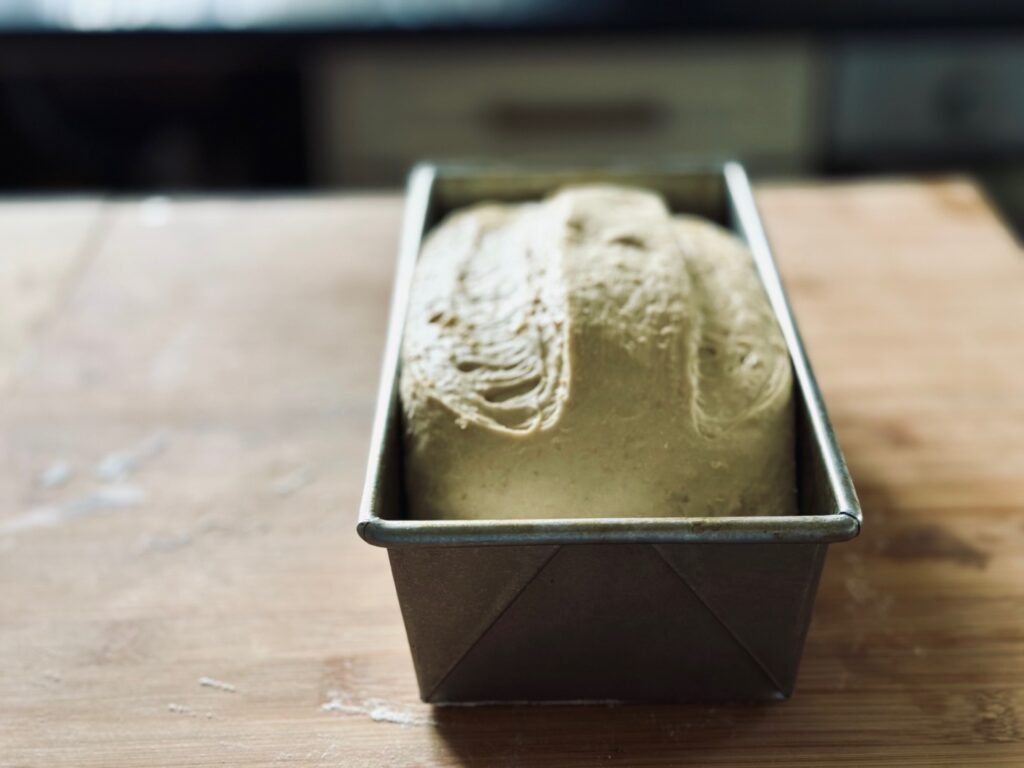
- This was mine after 1 hr in my working kitchen –
- Pre-heat the oven to 180c fan/200c gas/392f
- Now we need to punch it down and shape the loaf. This is exactly as it sounds, flour your hands and punch the dough to deflate it.
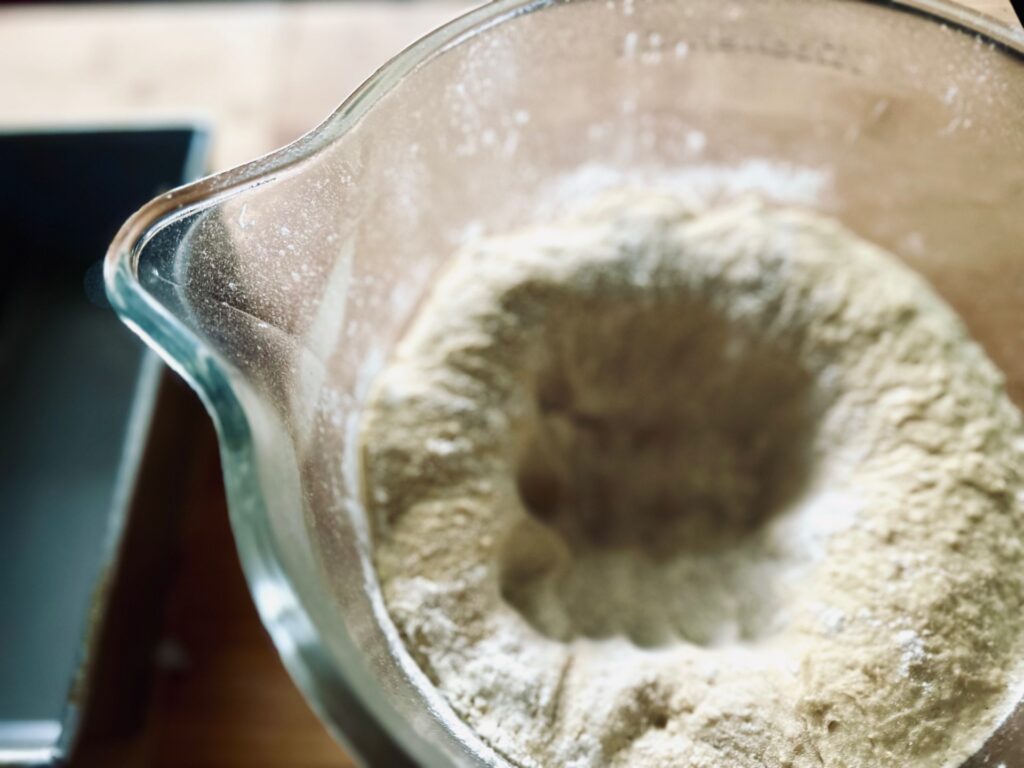
Violent but necessary
- Next flour a work surface and stretch the dough into a rectangle. Now we fold in the edges to make a log shape.
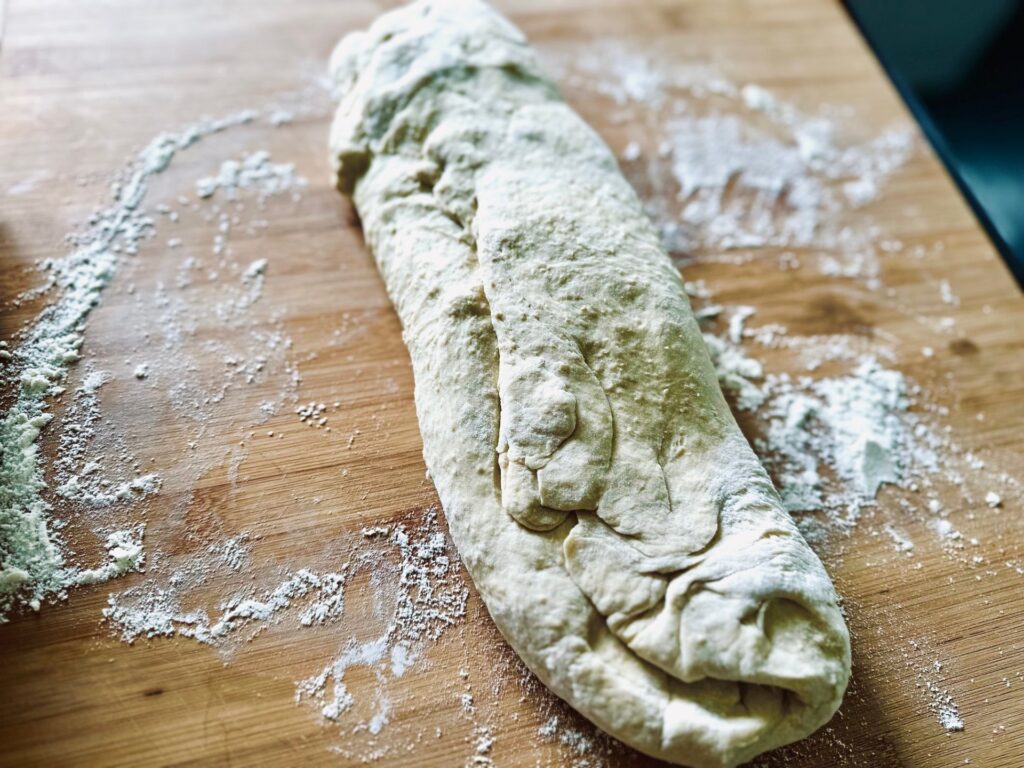
- From here, roll the bottom end up to form a ball, and manipulate into a loaf shape. This will happen quite naturally as the tension in the dough will spill outwards. Make sure to tuck the ends under.
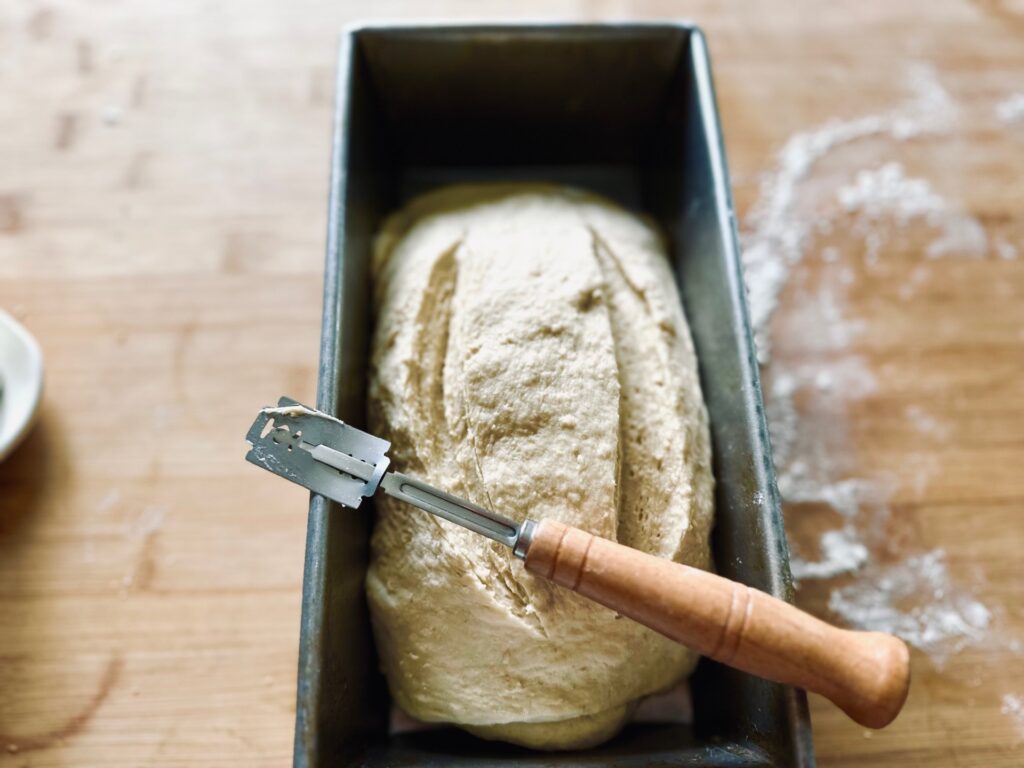
- Place the dough into a greased loaf tin and score with a Lame or sharp knife. This tells the bread where to rise so it doesn’t split on it’s own.
- Cover again and leave to rise for another half an hour.
- Bake in the oven for 35-40 mins.
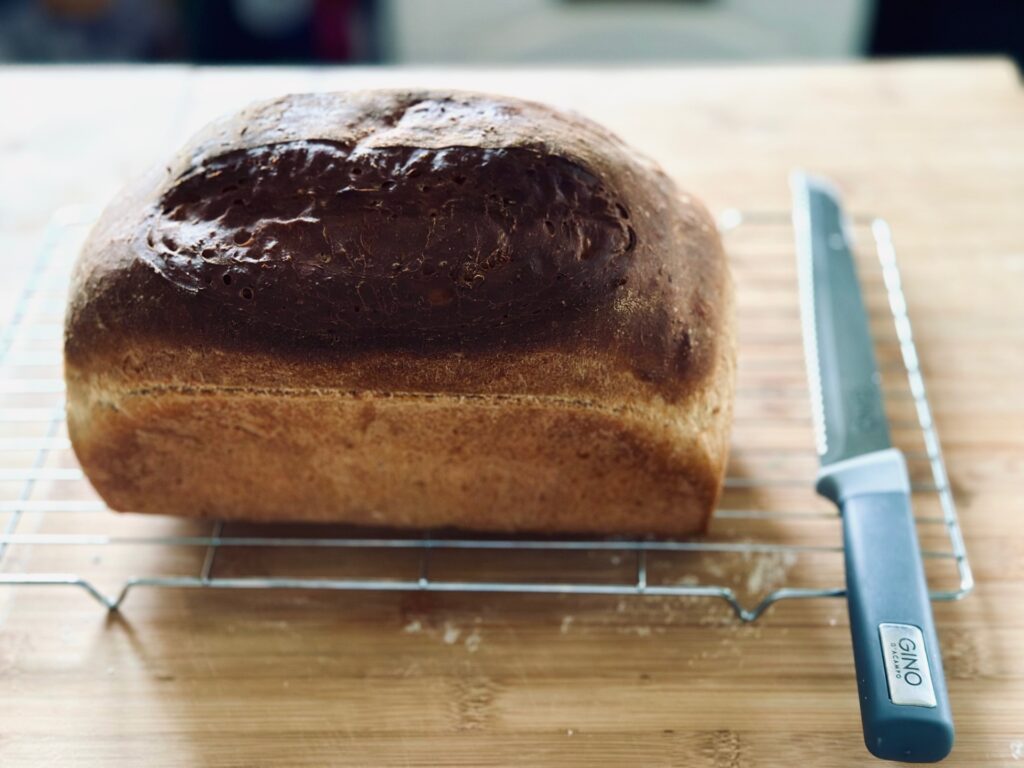
- When golden brown on top, and sounds hollow when tapped, place on a cooling rack. This part is hard but leave to cool for 15 -20 mins for the gluten to settle. It will be gummy if sliced when straight from the oven.
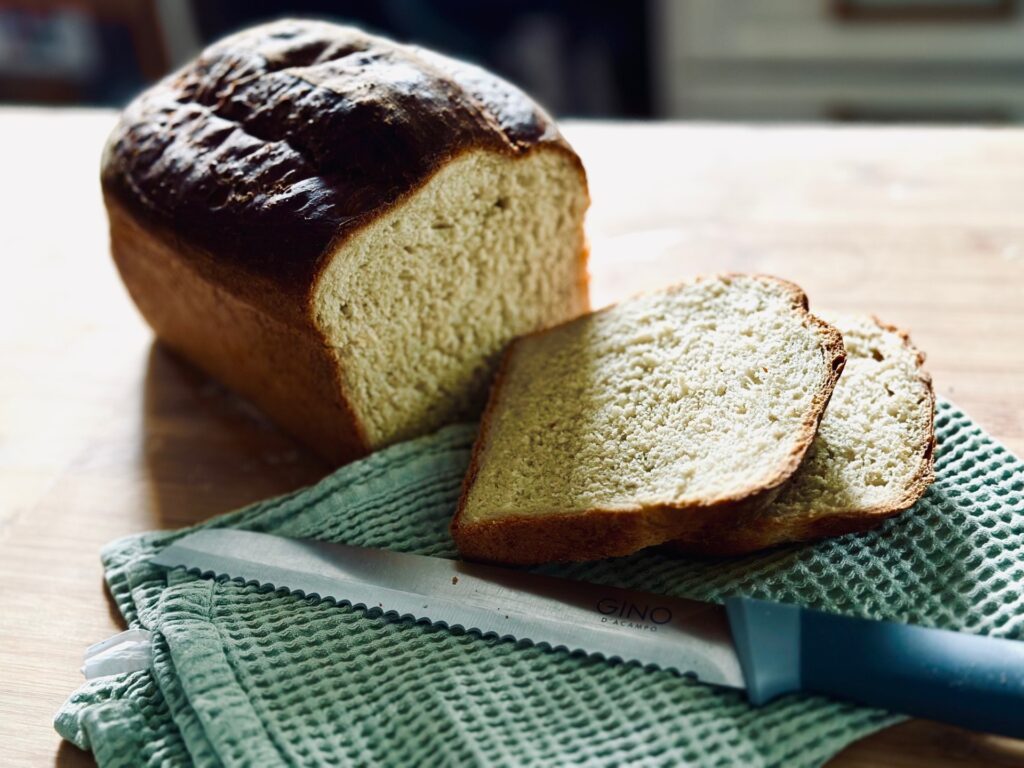
- While still warm, though, slice and enjoy!
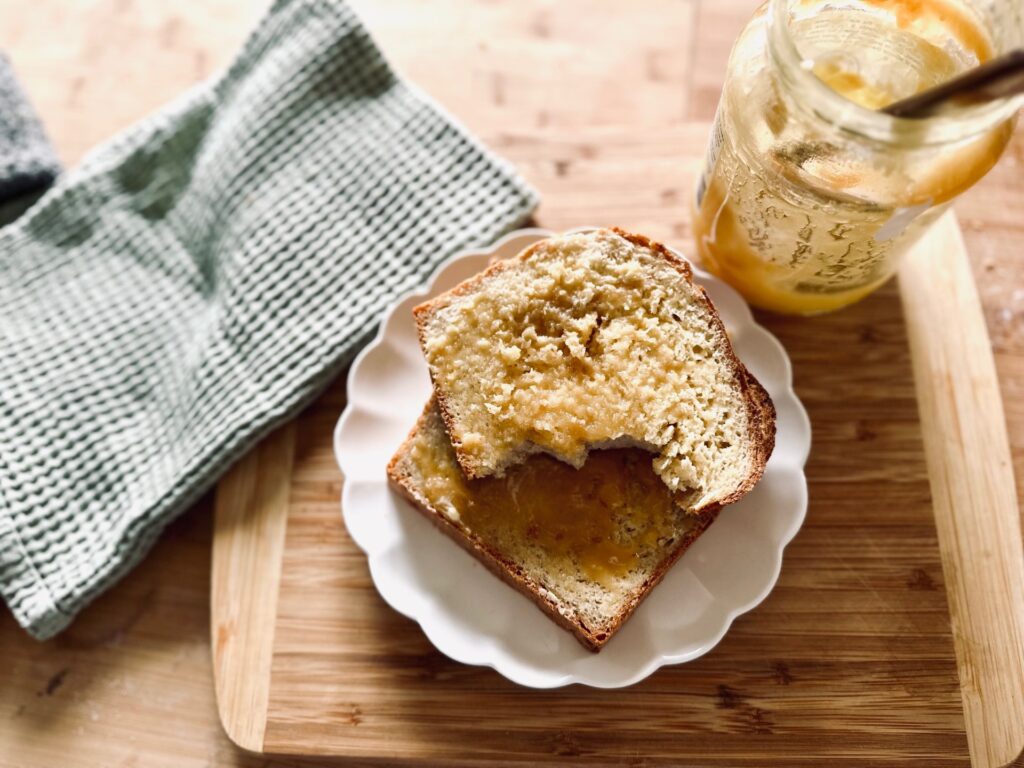
Beautiful slathered with butter and honey as an afternoon snack, or served with dinner, or even sliced and made into garlic bread loaf, this versatile everyday loaf of bread suits any occasion.
What’s your favourite way to eat fresh bread? Let me know in the comments, and as ever, if you like this page, please give it a share. Thanks friends x

Easy Bread Recipe
Equipment
- Stand mixer
- Measuring cups and spoons
- Loaf tin
- Cooling rack
Ingredients
- 2 Cups Warm Water
- 21/4 tsps Dry active or Instant Yeast
- 1/4 Cup Honey/Maple Syrup
- 1 Cup Rolled Oats
- 1/4 Cup Olive Oil
- 1 tsp Salt
- 41/3 Cup Strong Bread Flour, plus extra for dusting
Instructions
- Place water, yeast and sweetener into the bowl of a stand mixer and leave for 5 mins to bloom
- Once bubbly and frothy, add in oil, oats, salt and lastly flour. Turn mixer on and mix until smooth-ish (the oats make it look less smooth) for around 5-7 mins. You may need a touch more flour if dough is too sticky but it wants to stick to the bottom of the bowl but clean the sides.
- Cover and leave to double in size. This may take anywhere from 40-90 mins depending on the room temp.
- Once doubled, Preheat the oven to 200c gas/180c fan/360f. Punch down the dough and turn out onto a floured surface. Stretch into a flat rectangle, then fold the edges into the middle and then take the bottom of the log and roll it up to create a ball.
- Manipulate into a loaf shape, tucking the edges under, and place in the greased loaf tin.
- Use a sharp knife or bread lame and make slashes in the surface of the bread to tell it where to rise, then leave to proof for another 30 mins (this time it won't double, we're just looking for a rise.)
- Bake for 35-40 mins, until brown and hollow when tapped.
- Turn onto a cooling rack for 15 mins, then slice and enjoy!

1 thought on “Simple Bread Recipe”