 Skip to content
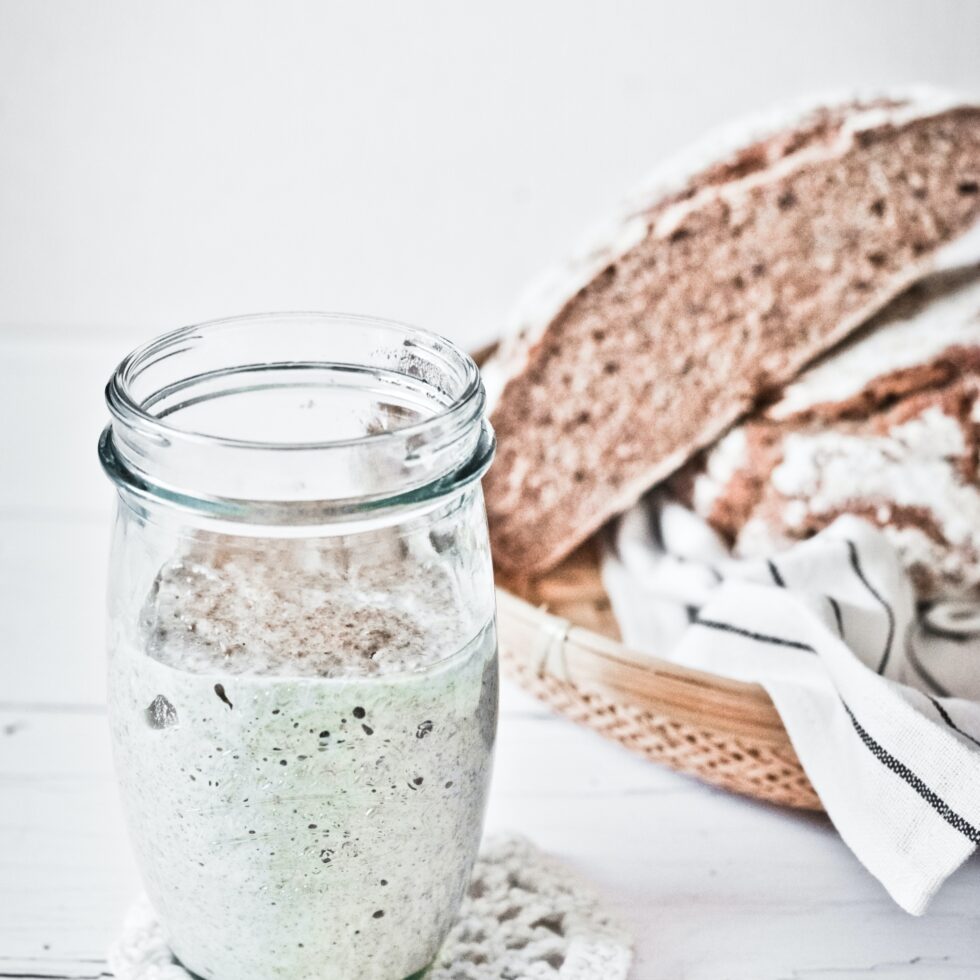
Making delicious tangy sourdough bread at home starts with a healthy sourdough starter. Easy and cheap, lets look at how you can make a sourdough starter at home, with just flour, water and time…

We moved to our current house about 18months ago, in late summer. After we’d unpacked, one of the first things I did was start a new sourdough starter. His name is Gerald. (I name things, it’s a whole thing.)
One of the reasons, besides the fact that I love the tang of sourdough, was that I love the idea that the starter that I had 150 miles away at our old house would be totally different to the starter I would have in my new county.
What is sourdough, anyway?
That’s because sourdough is a living substance made from wild yeast and bacteria in the local area that we ‘catch’ with the flour we put out for it. These wild organisms feed on the flour, and multiply, digesting the sugars and turning it into gases (giving us the rise we want for our bread products), and lactic acid (giving us the distinctive tang we enjoy).
Now of course, a quick internet search will show you that you can but a sourdough starter from someone who has done the work upfront, and sometimes these starters are decades old and have amazing back stories. ( That’s not nearly as gross as it sounds, I’ll explain in a little while…)
Starting a sourdough starter from scratch is so easy, though, and I think, as beautiful as it is to partake in someone’s story, it’s even more amazing to start your own…
All you need is some time.. and a bit of flour
Making a Starter From Scratch
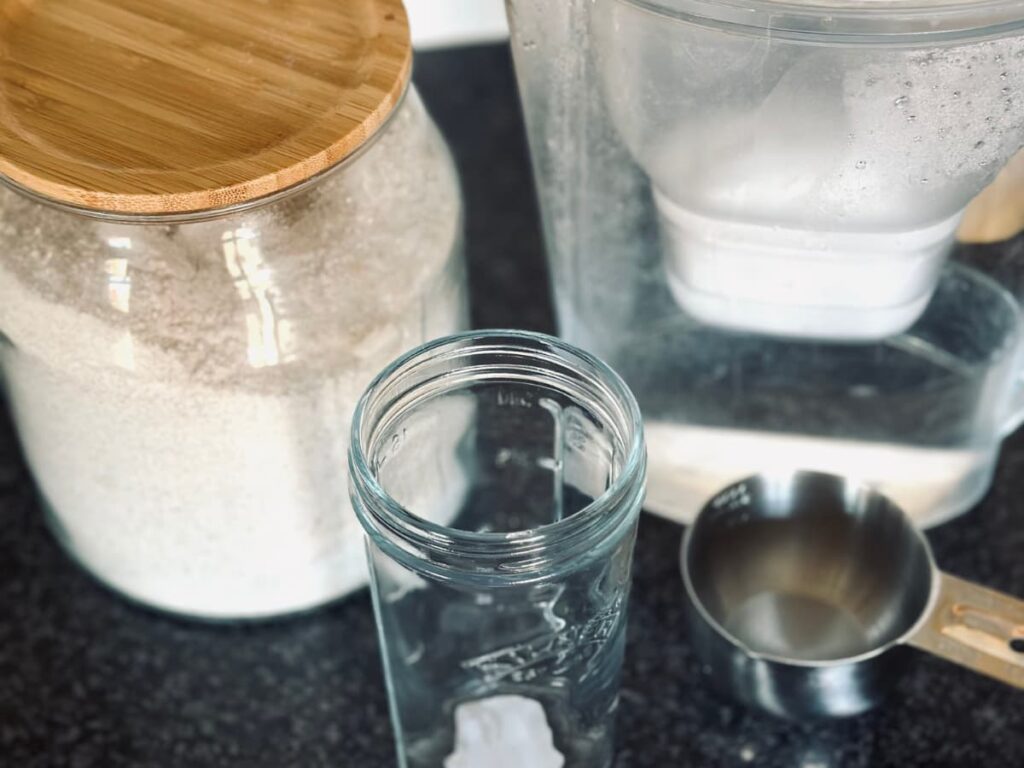
To make your starter, you’ll need:
A clean jar/pot (with a lid, but you could use a muslin cloth or a cotton tea towel)
Measuring cups ( these are mine)
Organic flour (see notes below)
Filtered water (see notes below)
And that’s it! I mean, there’s not much you can make with fewer ingredients!
A few notes to start..
Flour – I recommend using organic wholemeal flour to start off with, as it is the least processed and most nutritious food for your starter yeast that’s available within most budgets, but I use organic bread flour after that and it does great.
Rye Flour – this is a super food for your starter and if budget stretches to that, would be even better than wholemeal, but here in the UK, wholemeal flour is more readily available.
Water – Using filtered/bottled water gives your sourdough the best chance, as tap water may contains fluoride and this may hinder the growth of the bacteria we’re trying to grow, but if all you have is tap water, you can still make a starter, it just may take a little longer to get going.
Temperature – A special mention need to be made for the effect that temperature has on your starter. The perfect temperature for a sourdough starter is 20-22c/70-75f. If your kitchen is colder than this, it will take longer to rise, if it’s warmer it will rise quicker. The quicker the bacteria eat the food, the more feedings they will need.
Step-by-Step: Making a Sourdough Starter
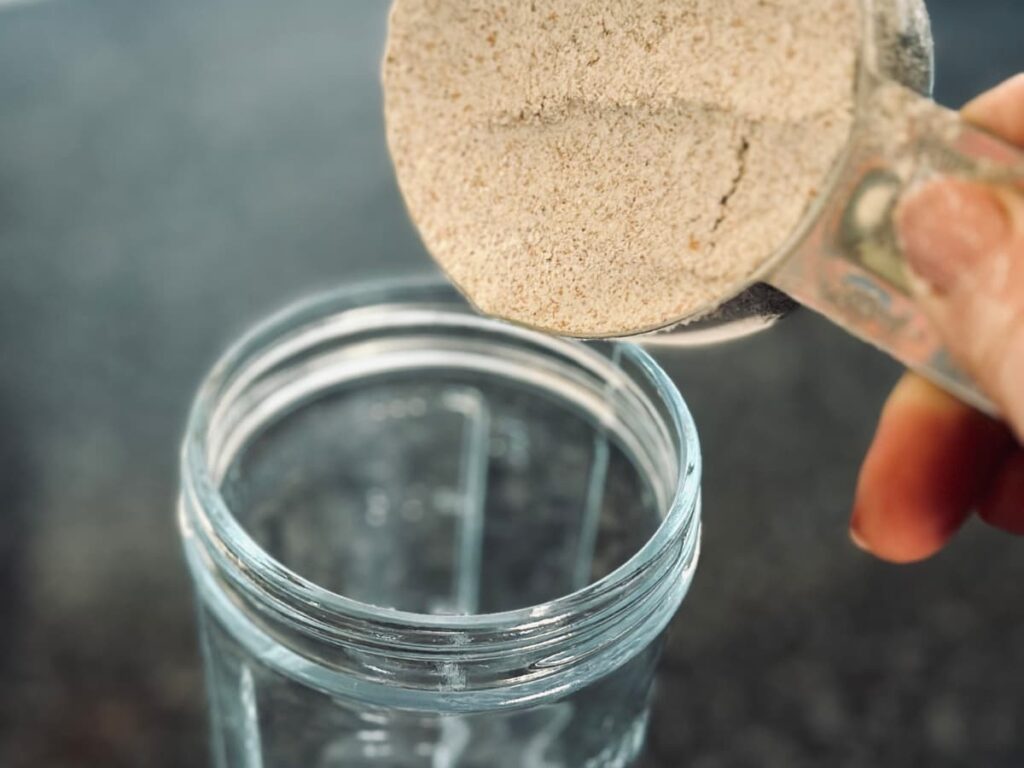
Day 1
- Begin by putting 1/2 a cup (60g) of chosen flour into a clean jar. ( I started with organic wholemeal)
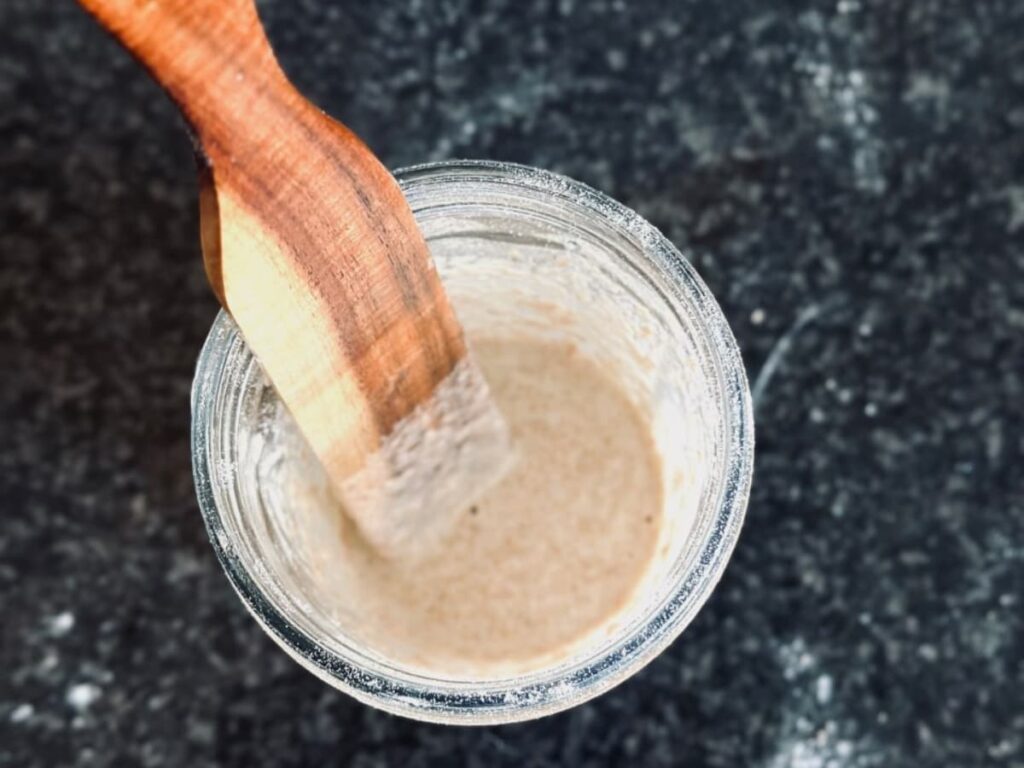
2. Next, measure and add half a cup of water to the jar.

3. Mix really well, so that no lumps remain, cover with lid/muslin cloth and set somewhere warm in your kitchen.

Day 2:
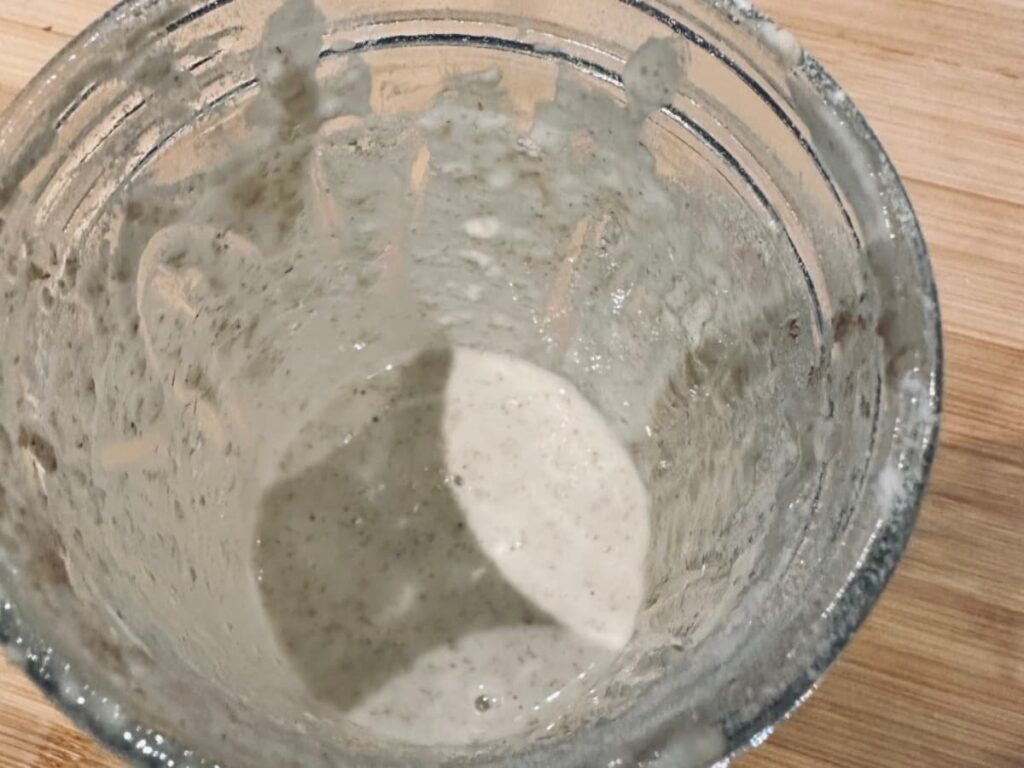
This is what the Starter looks like by the next day.
The liquid layer on the top is perfectly normal and nothing to worry about, this is the bacteria that you’ve captured going into overdrive as it digests the food. Mix it in, and then we can move on.
What we do today, we will repeat each day now until the starter is ready to bake with.
- Pour 3/4 of the starter into a separate jug or bowl.
- Mix 1/2 cup of flour and half a cup of water into the remaining starter in the original jar.
- Cover loosely and place somewhere warm.
From this point on, I use organic strong white bread flour to feed my starter daily.
This was mine after mixing.
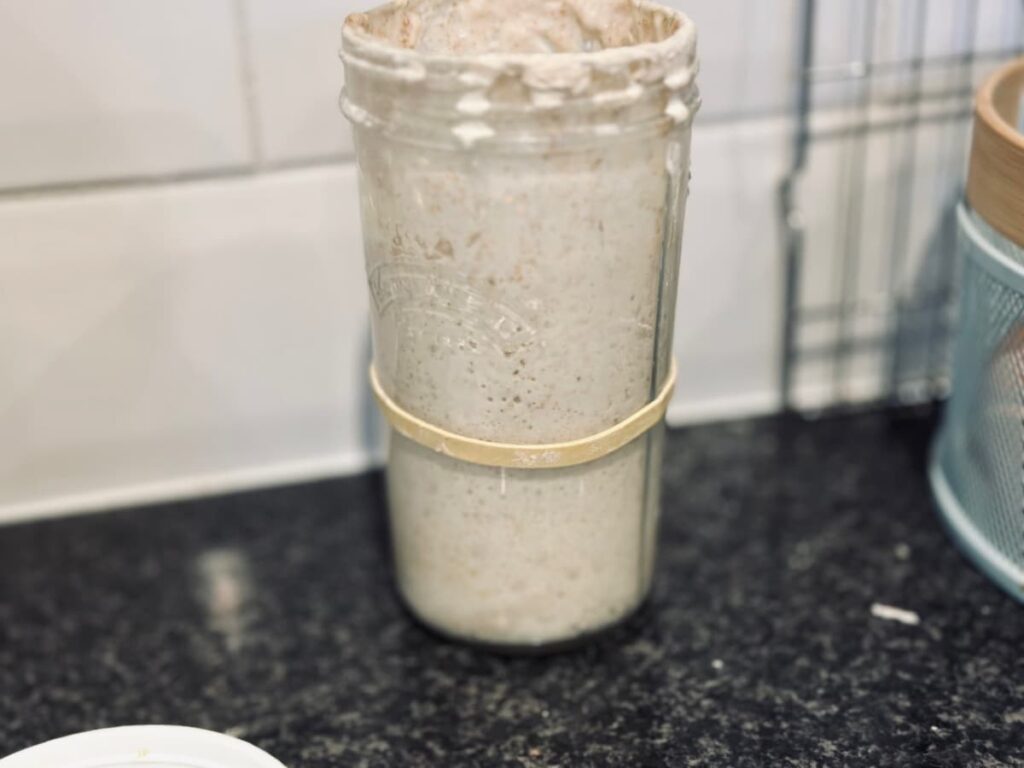
Day 3
We have some action!!! By day 3, my starter has some good bubbles and is smelling pretty sour. Yours may have less bubbles, or even no bubbles yet, that’s fine. Keep discarding and feeding and you should have bubbles in few days time.
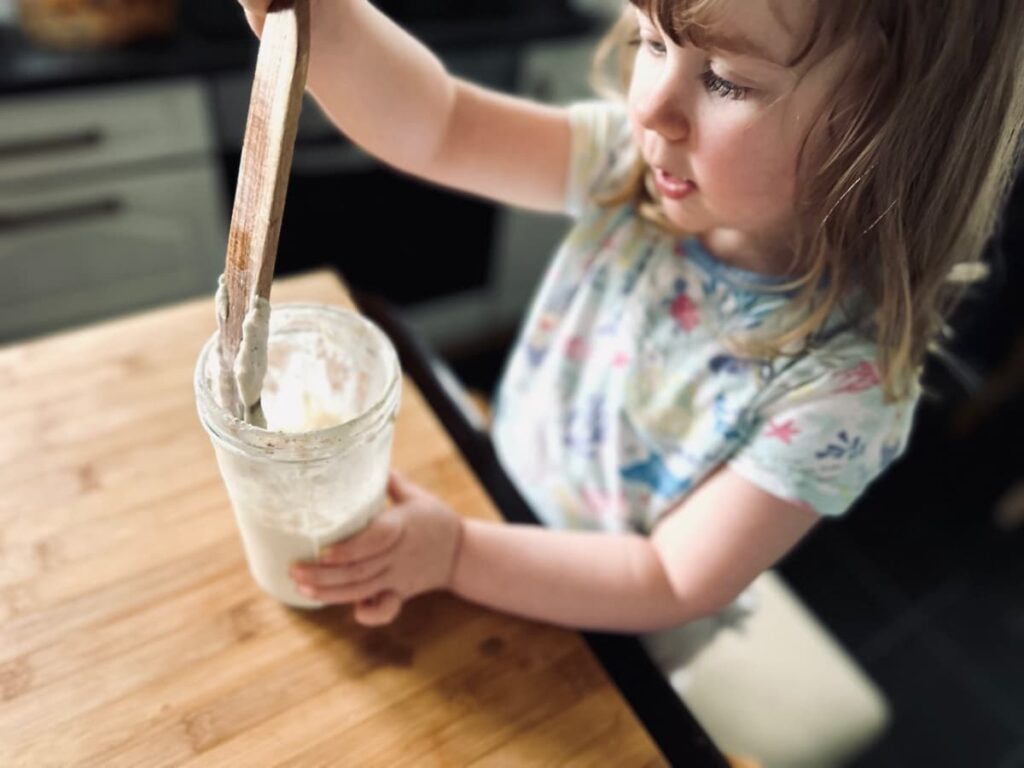
I had a little eager helper this day too…
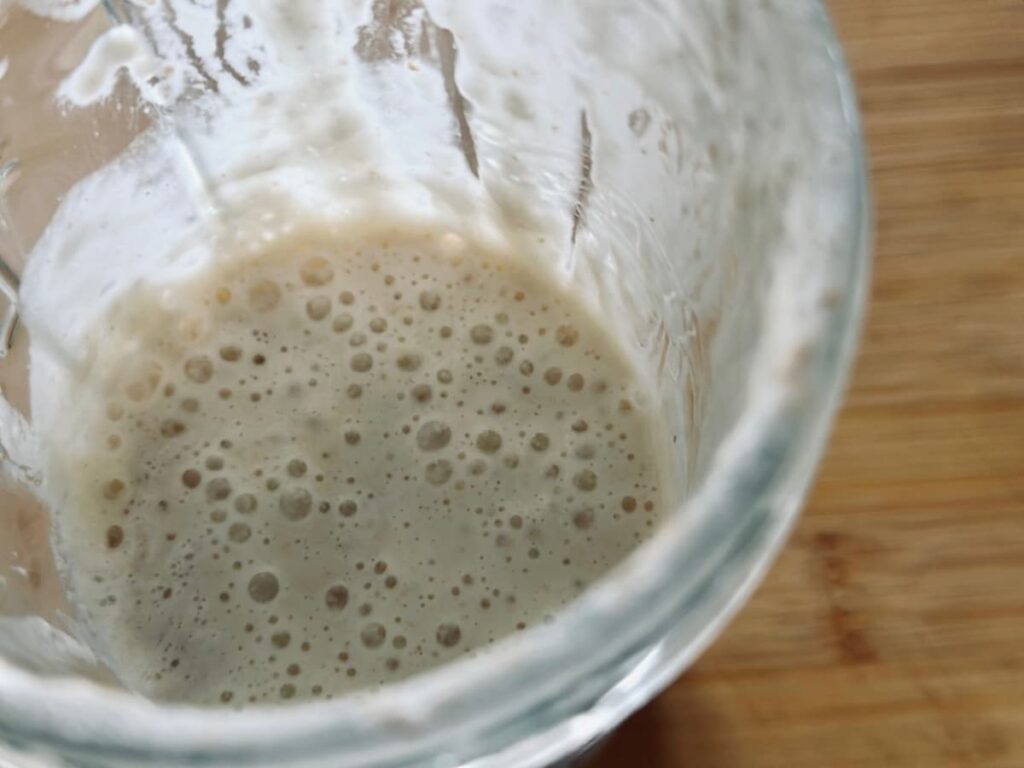
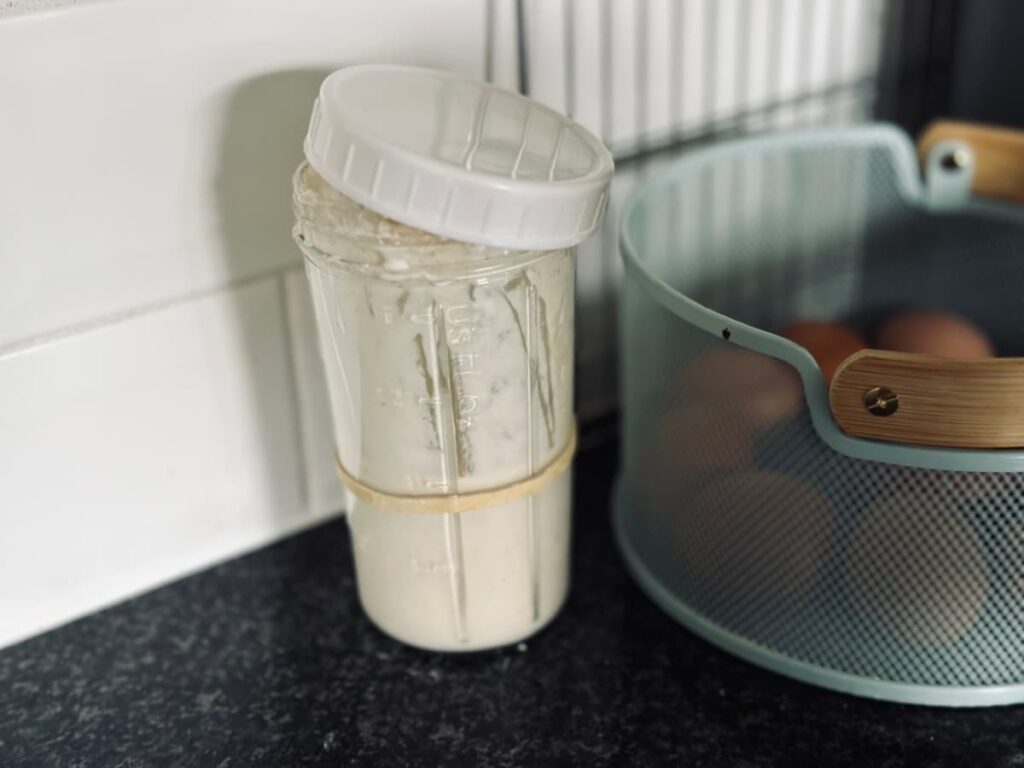
Day 5
Fast forward to day 5, repeating the discarding and feeding schedule each day, and my starter looks like this
Some bigger bubbles here, but still the hooch line at the bottom of the picture, and a very strong sour smell.
Again this is all normal. The starter is rising a little but not much. I start measuring today, with my fancy gadget, do you like it…?
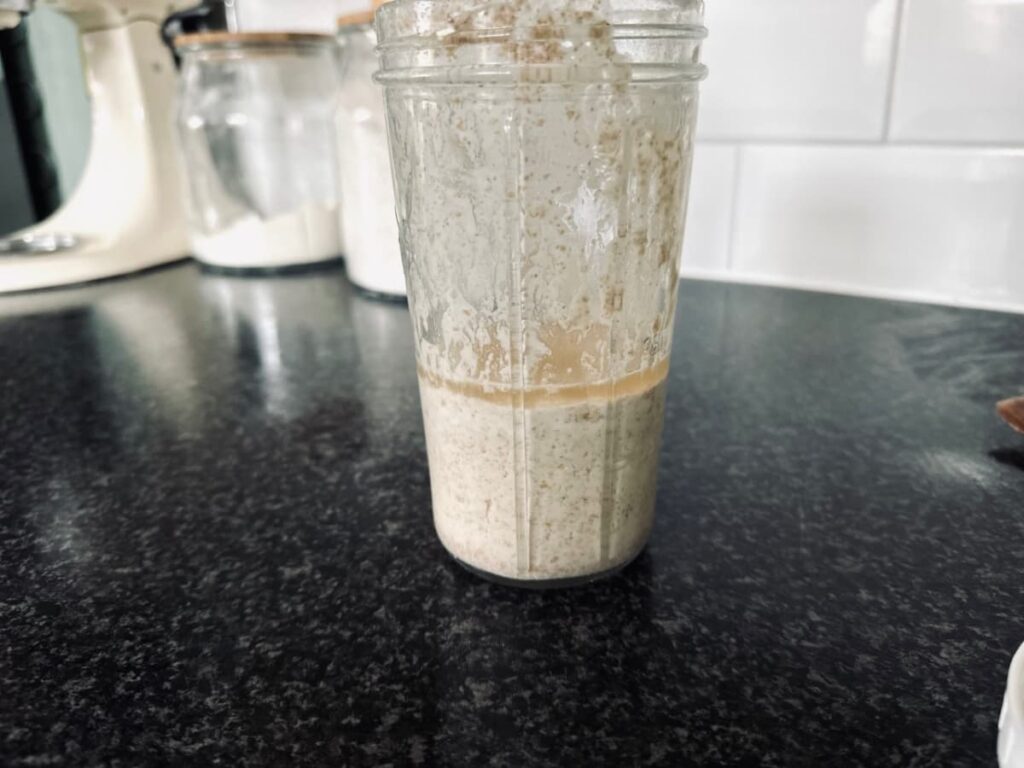
Day 8
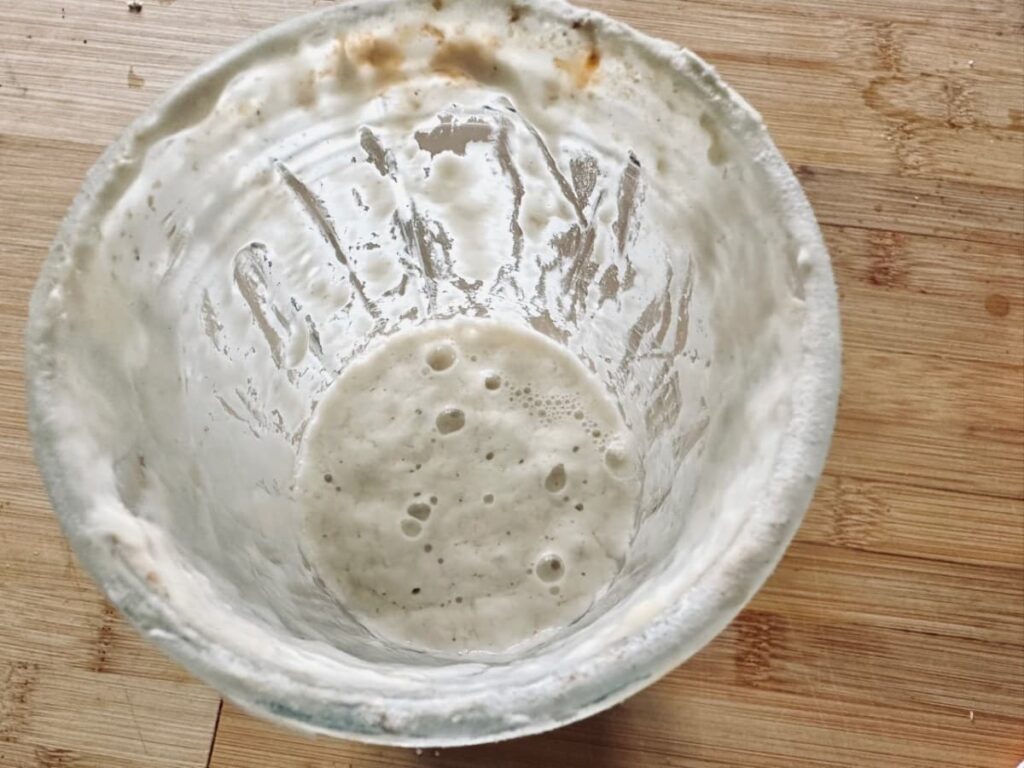
After repeating the feeding schedule for the next few days, the smell is vastly reduced ( a little smell is good)and now we have bubbles all the way through and a starter that is more than doubling it’s size
My starter is now ready to use to leaven bread products! If you are not sure if yours is ready, you can perform the float test, which is to pop a small amount of starter into a bowl of tepid water and if it floats, you’re good to go! If not, give it a couple more feedings and test again.
I used mine that day to get some sourdough tortillas going overnight and this was the result the next morning..
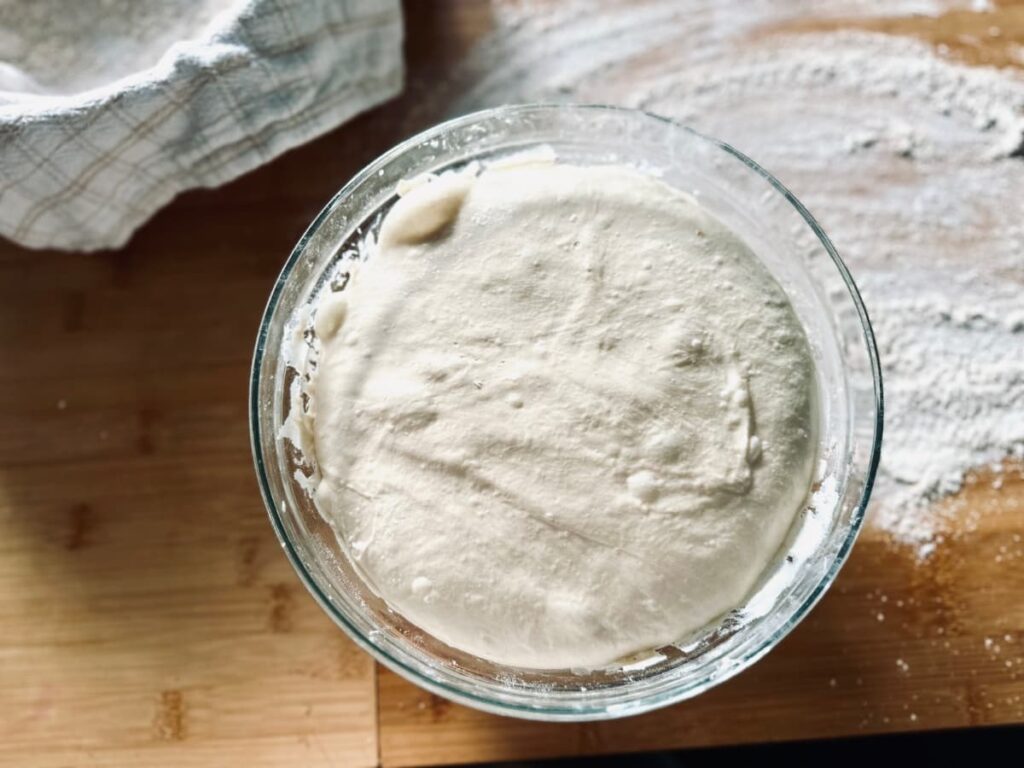
See the beautiful bubbles all through the dough!? We made that!!!
Once I got this starter established and strong enough to bake with for this post, I took some of my old starter, Gerald, and added a spoon of that to this starter to continue the lineage of our first starter up in our new town.
That’s how starters can be years old and not gross! 🙂
Maintaining Your Sourdough Starter
So now you’re up and running, what do you do with your starter when you don’t want to bake every day?
Storing your starter
If you know you only want to use your starter once a week or so, you can store your starter, sealed, in the fridge for 3 weeks or more. When you want to use it, simply get it out and allow to come to room temperature and repeat the discard and feed method we’ve used to create the starter.
If you don’t want to waste the discard each time you feed it, check out these posts about what else you can use it for:
What is Sourdough Discard and What Do I Do With It?
Troubleshooting
Why does my starter have bubbles but not rise?
When we’re starting off a new starter, the level of yeast and bacteria is relatively small and so may produce enough gas to make bubbles but not enough for a rise yet. Keep feeding it daily, keep it somewhere warm, and it will begin to rise.
My starter has no bubbles!!?
You may need to feed more than once a day, if nothing is happening. Feed twice a day (our discard and feed schedule) for 2 days and check for bubbles again.
Help!? My starter smells awful!
A strong sour smell, like vinegar, or nail varnish is normal, especially at the early stage. It usually means your starter is hungry and needs feeding. If there is a foul smell, then i would suggest throwing away and starting again.
What is this black liquid on my starter!?
That is called the Hooch. It is an alcohol based by-product of the feeding process of the bacteria in the starter and happens when they have not been fed for a while. This does NOT mean your starter has gone off, and is harmless, but you should pour it off before you give it a good stir ( to incorporate oxygen) and discard and feed as normal.
What happens if I don’t discard each time I feed?
The reason we discard each time, is so that we can feed at least double the amount of flour to our starter to make sure it has enough to eat. If we don’t discard some of the old starter, we will need more and more flour each feed to reach the double mark i.e, 60g, 120g, 240g, 480g etc and that equals a LOT of flour!!!
To discard it means we keep control of the starter and can feed as much as we need and keep the rest for other recipes, or water down and throw away.
Can I keep the discard from the start?
Not really, for the pure fact that there isn’t much in it to begin with, and in those first few days, the acid and gas ratios are balancing out, so it won’t be pleasant.
How do I know my starter is ready to use?
There are a few signs that your starter is ready;
- lots of bubbles throughout the starter, not just on top
- it rises in the hrs after feeding to double or triple it’s original size
- it passes the float test: place a spoonful of starter in a bowl of tepid water and if it floats, it’s ready to bake with.
Should I seal my jar tight?
Not tight, no. The starter needs covering so we keep out debris and stop anything causing mould, but we want to catch the wild airborne yeasts and bacteria that we plan to use to leaven our baking products, so a loose lid, a muslin cloth, or a clean cotton tea towel secured with an elastic band will do that job.
Can I keep my starter in the fridge?
Once you have an established active sourdough starter, then absolutely it can be kept in the fridge, but while we’re growing the beneficial bacteria we want, the starter should be kept at room temperature to give the best chance of a strong healthy product.
Let me know in the comments what you’ve named your starter! Don’t forget to share this post! Thanks friends x

5 thoughts on “Making a Sourdough Starter”